Hello Stampin' Buddies!
Well, it has been quite a while, but that does not mean that I have not been busy! Quite the opposite as a matter of fact.
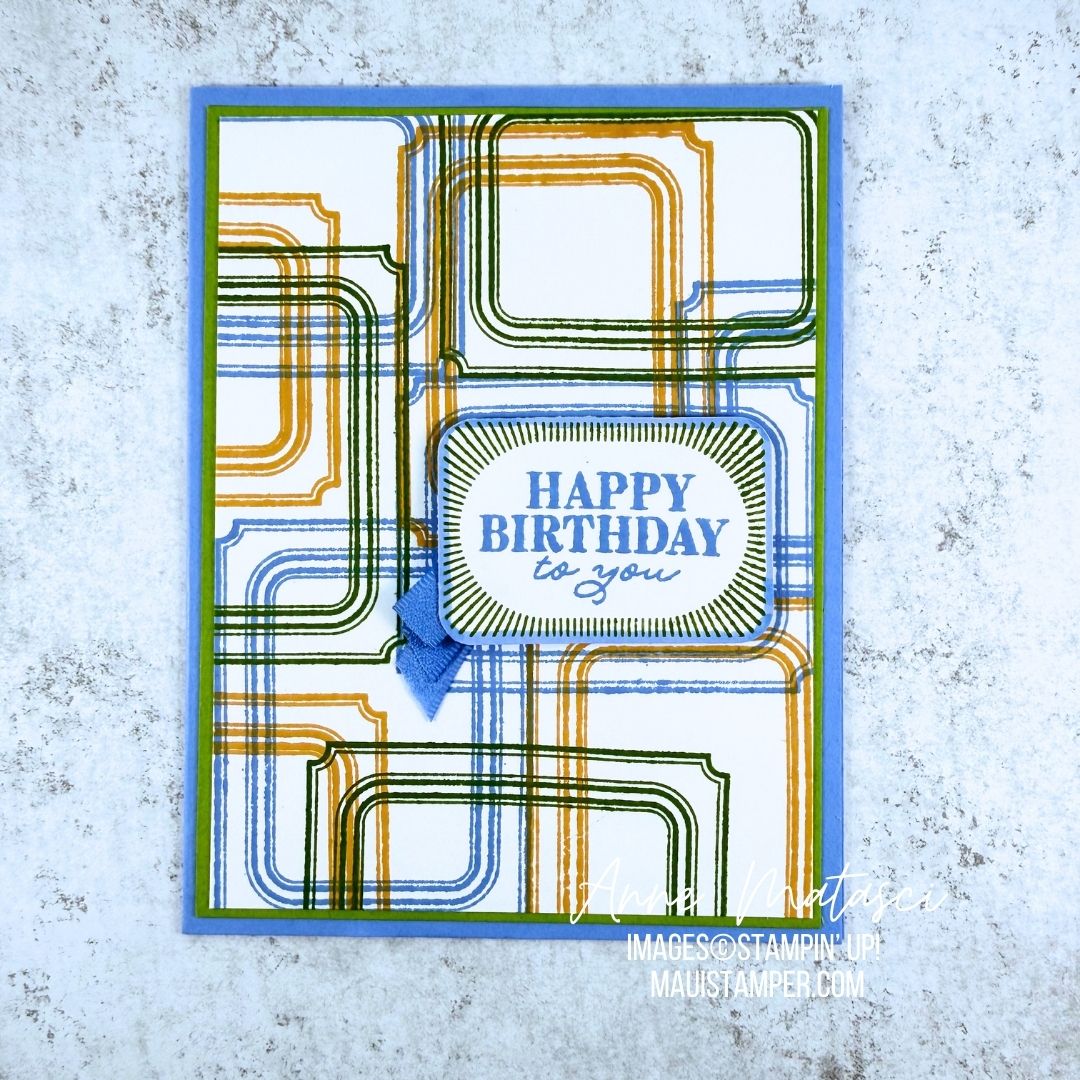
And I am here to showcase my latest project with you. I CASED (copied and shared) this wonderful collage from a photo that I saved a few weeks ago. Unfortunately, I cannot give proper credit to the designer of this beautiful project as there is no water mark present. So please let me know if by chance this person does see this, or one of you knows them, I would very much like to honor them.
This beautiful manly bundle can be purchased from the Stampin' Up! Occasions Catalog...it is The Geared Up Garage suite. I just love all of the wonderful ideas that everyone has come up with when I do my research on Pinterest, Splitcoaststampers and Stampin Connection.
Being that my two wonderful sons celebrate their respective birthdays a mere six weeks apart, I decided to make two of these collages for each of them. They enjoy their cars! I do hope that they like them as much as I have enjoyed making this for them.
Til next time...
Happy Stampin' Blessings...
~ Linda